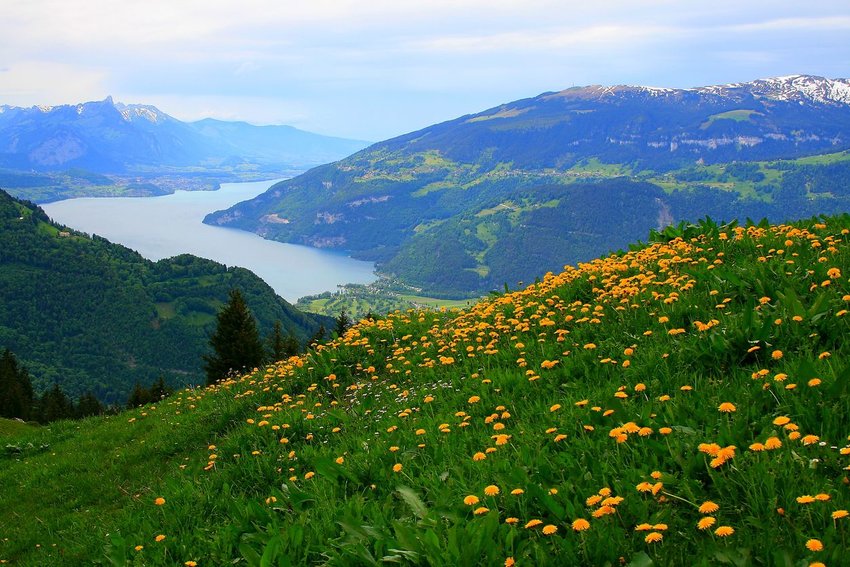
As the winter snows thaw, Switzerland’s Alpine meadows erupt into a riot of colour. The grass, no longer starved of sunshine, regains its verdant hue. Scattered across it is a colourful mix of Alpine plants. Low to the ground, they’ve adapted to cope with the biting mountain winds and thin, rocky soils that characterise this beautiful but harsh landscape.
While you can’t visit the Alps on your own right now, creating a little corner of the mountains in your own back yard or city balcony is a cinch. Here’s how to plant a Swiss Alpine garden at home.
Step 1: Go Online For Some Inspiration
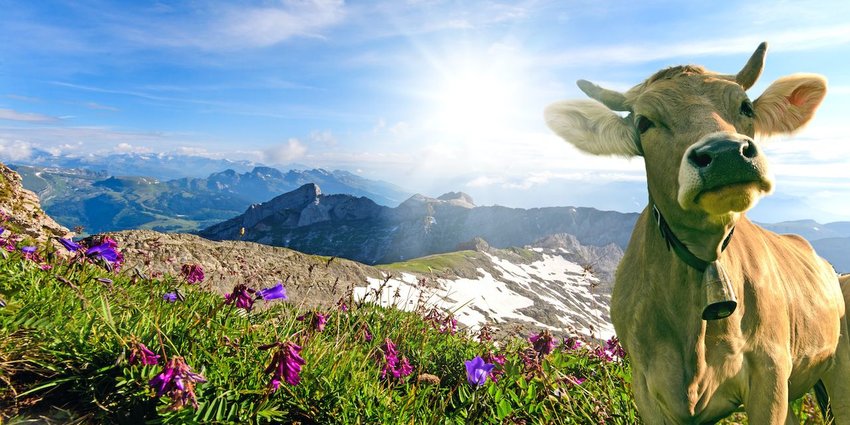
One of the best known Alpine gardens is the Schynige Platte Botanical Alpine Garden. It is reached via the 126 year old Schynige Platte cogwheel railway, which boasts an altitude gain of 1420 metres over its 7.3km route. During the ride, you’d be treated to a fabulous view of the summits that are known as the triple peaks: Eiger, Mönch & Jungfrau. Blue sesleria, rusty sedge scree and milkwort pastures cover a considerable area. In summer, delicate edelweiss and pretty gentians become the stars in a floral chorus line that includes over 690 native species. Other gardens to explore vicariously include La Thomasia and the Alpengarten Hoher Kasten.
Step 2: Identify a Suitable Spot At Home
Once you’ve gathered your inspiration from studying Switzerland’s gardens, it’s time to identify a suitable site at home. This doesn’t have to be large: a repurposed sink, stone trough or corner of a flower bed will do just fine. Alpines are hardy plants, but they hate getting their feet wet, so make sure wherever you plant them has good drainage. They’ll cope well on a windy site; over time these plants have adapted to hunker down in crevices and beside rocks, so they sit low to the ground. It’s a great way of adding a pop of colour to an exposed site. If you live in an area with higher rainfall, consider using a container of some sort which can be moved to a sheltered spot during the wettest season.
Step 3: Prepare the Site
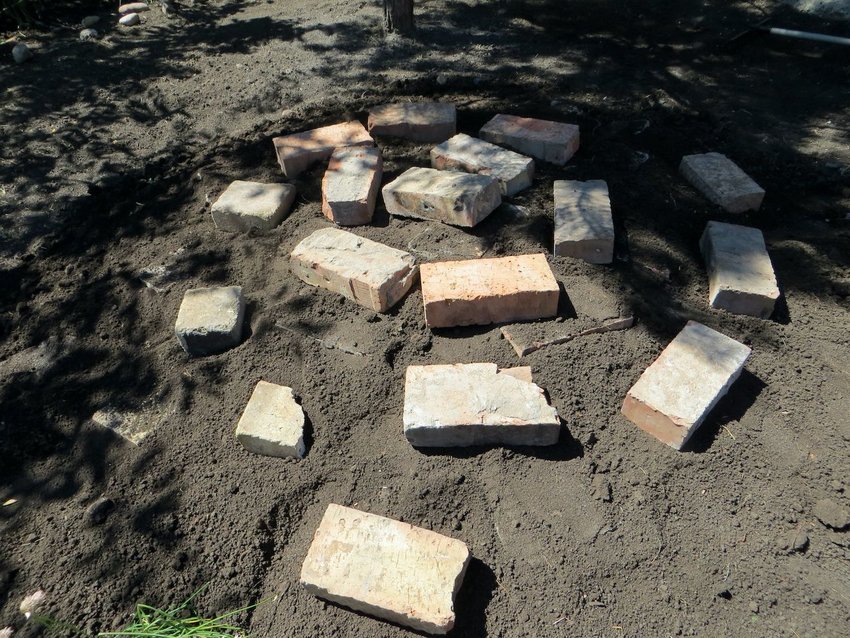
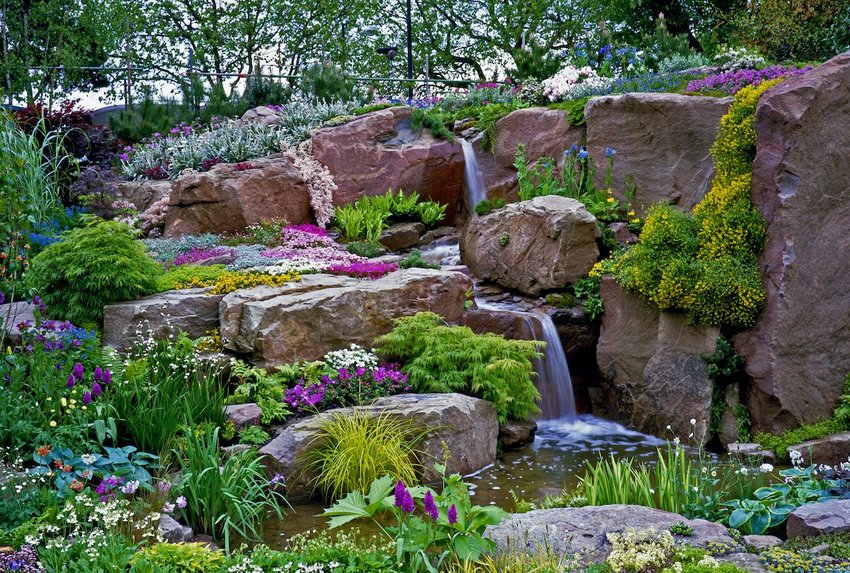
Now you know where your Alpine garden will go, it’s time to prepare the site. If you’re using a section of your flower bed, improve drainage by adding some bricks or rubble. Some gardeners recommend covering these with upturned turf which helps keep the soil on top rather than down the cracks. Cover with some soil and place decorative rocks or stones in an attractive layout. Using local stone is best as it sits well with its surroundings. If you’re creating a sloping bed, place the largest stones at the bottom to aid stability and the highest at the top. To achieve the thin soil that’s found on an Alpine meadow, mix your soil with somewhere between 30 and 50% grit or fine gravel. Spread it out but make sure it doesn’t get compacted. Step back at regular intervals to admire your handiwork and check how it looks from different angles.
Step 4: Choose Your Plants
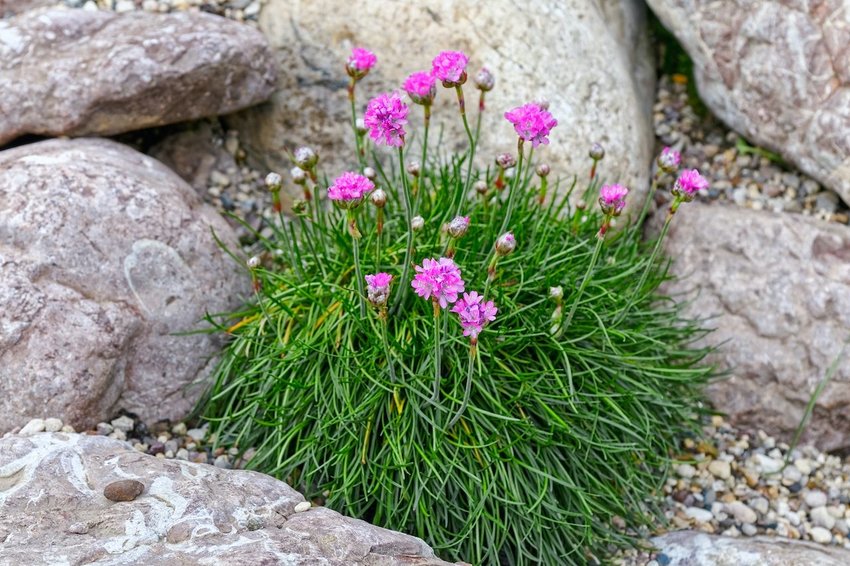
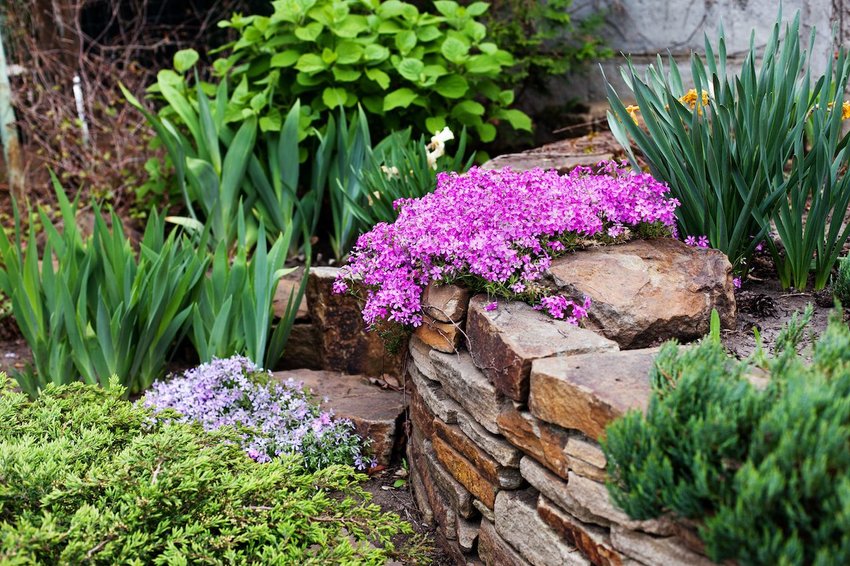
It’s time for the fun part: choosing your plants. Most garden centres, including those in large home improvement stores, will have a section given over to Alpine plants. In general, you need to look out for low-growing hardy perennials. Think about colours that replicate the meadows you see in nature. Alternatively, opt for a palette of coordinating colors such as whites, purples and pinks that will contrast with the stone they grow in between; try grey or mauve tones in this instance. While you’ll find plants such as succulents, saxifraga, armeria, dianthus and creeping phlox in popular chains such as Home Depot or Lowes, you might wish to contact a specialist grower such as Canadian Wrightman Alpines for rarer species; they ship across Canada and the USA.
Step 5: Enjoy the Results!
That’s it! Alpine plants generally require little maintenance, and can be left to fend for themselves. Keep on top of weeds that might take hold, but otherwise don’t be tempted to interfere too much. Sit back, wait for the flowers to bloom and enjoy the fruits (or flowers) of your labor.
Photo: agustavop/iStockPhoto